How to Measure Land: A Comprehensive Guide
Measuring land accurately is a crucial step in any real-estate transaction, construction project, boundary dispute—or simply for knowing exactly how much land you own. Although methods vary in complexity and required equipment, the fundamentals remain the same: determine boundaries, measure distances (and sometimes angles or elevations), and calculate area. This article walks you through everything from basic principles to advanced tools, so you’ll understand how land measurement works and how to apply it—whether you’re a homeowner, investor or professional.
Why Measuring Land Matters
Accurate land measurement is more than just a technicality. Here’s why it holds real-world importance:
- Legal boundaries: Knowing exactly where your land begins and ends helps avoid disputes with neighbours or municipalities. If you build a fence, a wall or structure that encroaches, the consequences can be costly.
- Construction & development: When planning a house, barn, driveway or landscaping project, the exact size and shape of the parcel determine what you can build and where.
- Valuation & investment: Land area directly influences value: a larger area often means higher price, but the shape, slope and usability matter too.
- Regulatory compliance: Many local authorities require surveys or certified measurements for building permits, subdivisions, or land registration.
- Clarity and record-keeping: A precise survey or measurement gives you a solid record—useful if you sell, mortgage or transfer the land later.
Given these reasons, it’s worth taking the time to measure carefully (or engage a professional) rather than rely on approximate figures.
Understanding the Basics: Units, Shapes & Boundaries
Units of measurement
Depending on your country or region, you may see land described in square metres, square feet, acres, hectares or local traditional units. Some key conversions/references:
- A hectare is 10,000 m².
- An acre is 43,560 ft² (about 4,046.9 m²).
- In some regions, older units or local names apply (e.g., “jerib” in Iran/Afghanistan) as alternate measures of area.
When measuring land you’ll want to decide on a consistent unit (or convert appropriately) so your area calculations make sense.
Land shapes and complexity
Land parcels rarely conform to perfect rectangles. They may be:
- Rectangular or square (simplest case)
- Triangular or trapezoidal
- Irregular polygons with many sides
- Sloped or undulating, not strictly flat
The simpler the shape (e.g., rectangle), the easier the math. Irregular or sloped terrain introduces additional complexity (see later). For irregular shapes, one common approach is to divide the parcel into simpler shapes (rectangles, triangles, trapezoids), measure each, then sum them.
Boundaries and corners
Before measuring distances, identify the boundary markers: corner stakes, survey pins, natural features, fence lines or the official survey plan. The old “metes and bounds” system (distance + direction + landmark) is still used in some places.
It’s vital to know where the parcel begins and ends, otherwise your measurement will be off. Once you know the boundaries, you can proceed to measure.
Step-by-Step: Measuring Land Yourself (Basic DIY Method)
If you have a reasonably sized parcel (e.g., residential lot) and you’re comfortable doing a simpler measurement, here’s a step-by-step approach. Note: this does not replace a professional survey if required by law, but it gives you a good estimate.
Step 1: Investigate and prepare
- Obtain any existing survey plan, property deed or title documentation. These often list boundary dimensions or indicate the shape of the land.
- Visit the land and locate the boundary markers (stakes, corner posts, fences). If unclear, ask neighbours or consult documents.
- Clear vegetation or obstructions as much as possible so you can access measurement lines.
- Decide on the measurement unit and prepare your tools (measuring tape, long tape, measuring wheel, smartphone app or GPS device).
Step 2: Determine the shape
- Sketch the outline of the parcel, noting how many sides/corners it has and approximating lengths/angles.
- If it is a rectangle or square, note “Length” and “Width”.
- If irregular, plan to divide it into simpler polygons (triangles, rectangles, trapezoids) for measurement.
Step 3: Measure the boundaries
- For a rectangle: measure the length of one side (e.g., front to back) and the adjacent side (width). Ensure your tape is level and straight.
- For irregular shape: measure each side, noting adjacent corners and side lengths. If you can, measure the angles between sides (using a compass or angle-finder) or ensure the shape is broken into simpler shapes.
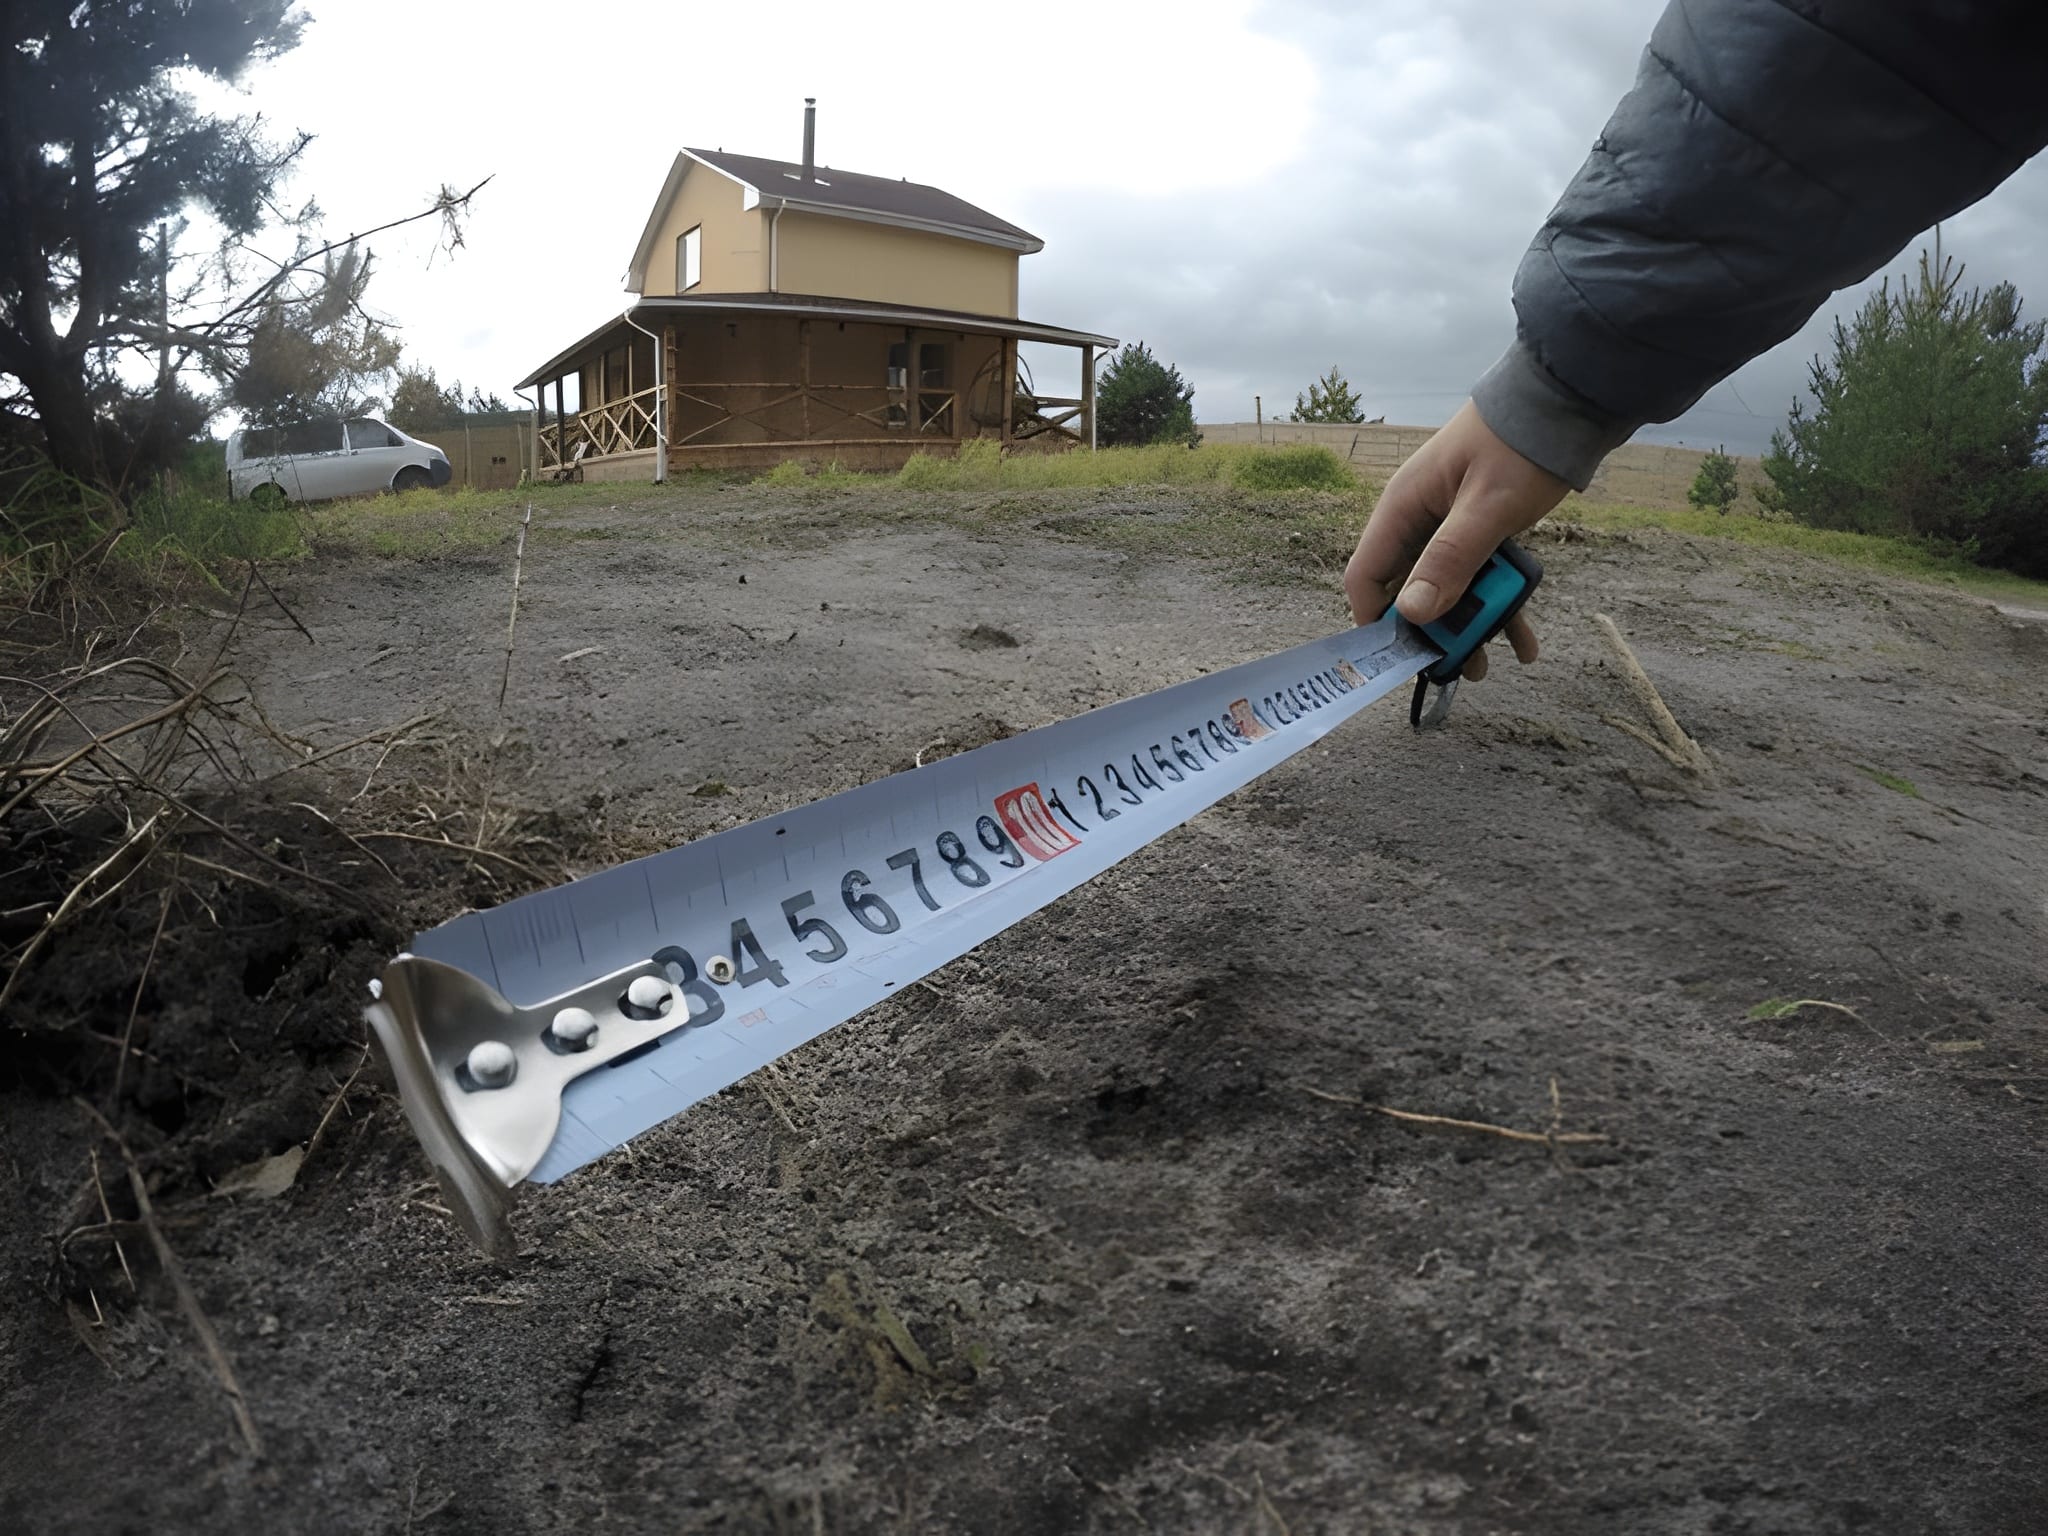
- Use a long measuring tape (50 m, 100 m) or a measuring wheel for larger dimensions. Some recommend staying within about 25 × 25 m if using simple tape only.
- Record all measurements carefully.
Step 4: Calculate the area
- For a rectangle: Area = Length × Width. E.g., if length = 30 m and width = 20 m, area = 600 m².
- For a triangle: you may use base × height ÷ 2, or Heron’s formula if all three sides are known.
- For polygons: divide into triangles/rectangles/trapezoids, calculate area of each, then sum. Example formulas for trapezoid: Area = (Parallel side 1 + Parallel side 2) ÷ 2 × Height.
- If you measured the perimeter and want to convert to acres (for example): e.g., find square footage then divide by 43,560 to get acres.
Step 5: Adjust for slope (if needed)
If the land is sloped significantly, measuring purely horizontal distances will under-estimate actual surface area. You’ll need to apply correction for slope (using the actual slope length rather than the flat projection). Tools like total stations or digital elevation models work best for this. Some online and job-site practical guides cover it.
Step 6: Double-check and validate
- Re-measure critical sides or corners to check for consistency.
- If you used multiple shapes, ensure the sum of their areas equals your total measurement.
- Cross-check with existing documents or maps if possible.
- If you used a smartphone/GPS method, compare to manual measures.
Step 7: Document everything
- Create a sketch of the parcel with all measured dimensions annotated.
- Specify units used and conversion factors (e.g., metres→feet, m²→acres).
- Save measurement tools, dates and any observations (obstructions, unclear markers).
- If you intend to use these measurements for legal or construction purposes, it may be wise to have a licensed surveyor review them.
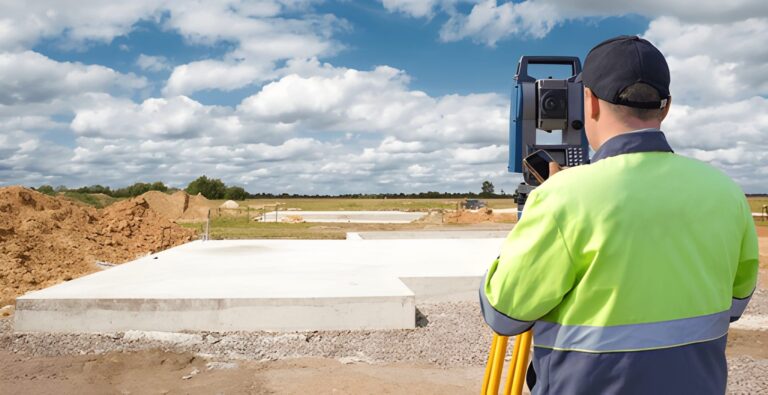
Advanced Tools & Professional Techniques
For larger tracts of land, irregular terrain, or legal land-use requirements, professionals (land surveyors) use more advanced tools and methods. Understanding these helps you appreciate what a professional does and when you might need one.
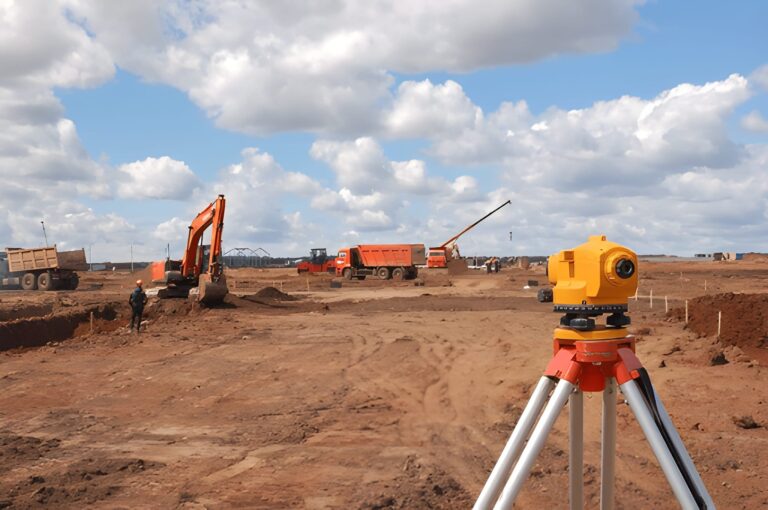
Traditional survey methods
- Chains and tapes: In historical surveying the “Gunter’s chain” (66 feet long) was used for measuring length, each chain consisting of 100 links.
- Theodolites and transit: Instruments for measuring angles and horizontal distances.
- Leveling instruments: Especially useful on sloped terrain to determine differences in elevation and true horizontal distances.
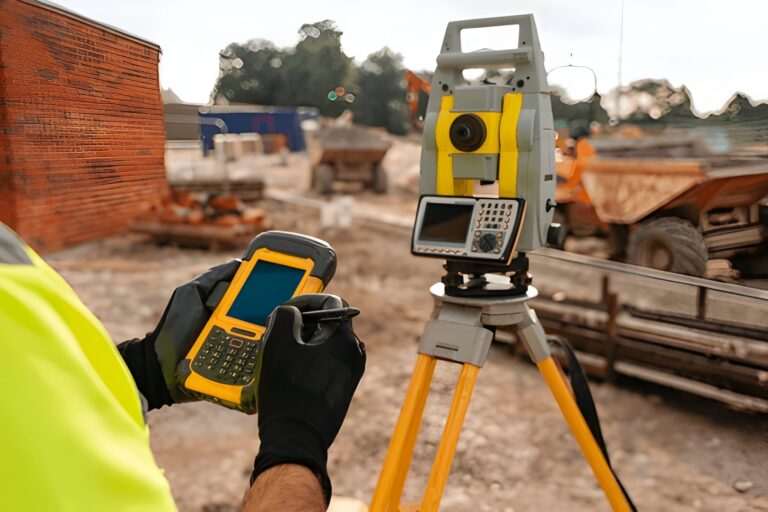
Modern instrumentation
- Electronic Distance Measurement (EDM): Instruments that use electromagnetic waves or lasers to measure distance more accurately than tapes. In one resource, typical EDMs could measure distances up to 5 km with accuracies up to one part in 20,000.
- Total Stations: Combine EDM with angle measurement — many modern surveyors use these for high-accuracy mapping.
- GPS/GNSS Surveying: Using satellite positioning systems, surveyors can locate points with centimetre-level accuracy under good conditions. Useful for large areas or where physical lines are hard to lay.
- Drones / LiDAR / Photogrammetry: Aerial imagery, drone surveys and LiDAR allow 3-D mapping of terrain and boundaries, capturing large parcels more quickly.
Techniques for area calculation on irregular plots
- Triangulation: Surveying method where known baseline and angles are used to determine positions of other points.
- Subdivision & geometric methods: Irregular shapes are broken into regular geometrical figures (triangles, trapezoids, etc) and area calculated via formulas.
- Graphical / grid methods: On maps or plans, transparent grid overlays or strip‐methods can approximate areas.
When to engage a professional surveyor
- When the land parcel is large, very irregular, sloped or includes waterways, easements, encroachments.
- When legal registration, subdivision, construction permits or boundary dispute resolution is required.
- When you need high-accuracy measurement (e.g., for commercial development).
Professional surveyors are licensed, carry professional liability, and produce certified survey reports accepted by authorities.
Common Mistakes & How to Avoid Them
While measuring land seems straightforward, many errors occur. Here are the most frequent pitfalls and how to avoid them:
- Overlooking slope/elevation: Measuring only horizontal distances on sloped land underestimates real surface area. Use slope correction or professional tools.
- Inaccurate tools or worn tapes: A stretched tape, bent wheel or un-calibrated GPS will give wrong results. Check tools for condition and accuracy.
- Ignoring boundary markers or relying solely on memory: Always locate and verify corner markers before measuring.
- Failing to adjust for irregular shapes: Simply multiplying length × width is fine for rectangular lots—but for polygons you must divide the shape or use GPS/area calculation tools.
- Using GPS alone without verification: Smartphone GPS may have errors, especially under trees or near buildings. Combine with manual confirmation.
- Not considering legal/recorded surveys: Your measurements must align with recorded survey plans and legal boundaries. Discrepancies may create liability.
- Assuming unit consistency: Mixing units (feet, metres, acres) without converting properly leads to big mistakes. Always stay consistent and state your units.
- Poor documentation: Without a sketch, recorded lengths, units and date, your measurement may not be usable later.
By being aware of these and taking corrective steps, you’ll greatly improve measurement accuracy and reliability.
Example Walk-Through: Measuring a Small Residential Lot
Let’s walk through a hypothetical example so you can visualise the process.
Scenario: You own a residential parcel that appears nearly rectangular, with overgrown vegetation on one side and one side marked by a fence. You want to estimate its area yourself before hiring a contractor.
- Prepare
- Survey deed says: “Beginning at the southeast corner fence‐post, then north along fence 40 m, then west 25 m, then south 40 m, then east 25 m to the point of beginning.”
- You locate the southeast corner post, walk along the fence to mark the 40 m side.
- Sketch the shape
- Since the description is exactly a rectangle (Length = 40 m, Width = 25 m), you sketch a rectangle: one side 40 m, adjacent side 25 m.
- Measure
- Using your long tape measure: you measure along the fence — 40.0 m. Then you measure perpendicular (use a right-angle tool or 3-4-5 triangle) the 25.0 m. You measure the opposite side to confirm: 40.0 m; and the other width: 25.0 m.
- Calculate area
- Area = Length × Width = 40 m × 25 m = 1,000 m².
- If you convert to acres (just for reference): 1 acre ≈ 4,046.9 m² → so 1,000 m² ≈ 0.247 acres.
- Verification
- You check the diagonal (optional) to ensure shape is rectangular: diagonal should be √(40² + 25²) = √(1,600 + 625) = √2,225 ≈ 47.17 m. You measure and your tape shows about 47.1 m—a good confirmation.
- You compare to recorded deed values to confirm you’re consistent.
- Document
- You draw the rectangle, label sides (40 m, 25 m), area (1,000 m²). Note date, tools used, starting corner description. File it with your records.
In this scenario, because the shape is simple and boundaries clear, the DIY method yields reliable results. For more complex shapes or for legal use you might still hire a surveyor.
Measuring Irregular Land: Strategy & Techniques
When land is irregular, broken by curves, slopes, non-linear boundaries or partial fences/markers, you’ll need a more thoughtful approach.
Break into simple shapes
- Sketch the parcel, then divide it into polygons or combinations of rectangles, triangles or trapezoids.
- Measure each sub-shape (sides, base/height, angles if needed) and compute individual areas.
- Sum all sub-areas to get total parcel area.
Use GPS/coordinate‐based methods
- Modern handheld GPS or smartphone apps allow you to mark boundary points (corners) and then compute area.
- Note: accuracy depends on number of points, the precision of coordinates and whether the shape is concave/convex. One article warns: “If only 3 points are recorded, much of the land area may not be accounted for.”
- For best result: walk all boundary corners, collect coordinates, ideally at the outermost points of the boundary.
Accounting for slope and terrain
- Sloped or uneven terrain means the “surface” area is larger than the horizontal projection.
- If you can measure slope distance (hypotenuse) instead of flat ground distance, use that for more accurate area. Alternatively, use surveying equipment or drone/LiDAR for 3-D modelling.
Large plots / obstructions
- For large parcels, heavy vegetation, irregular boundaries, watercourses or inaccessible areas, professional methods (total station, drone mapping, aerial imagery) are more efficient and accurate than purely manual.
- Use tools like planimeter (for map drawings) or aerial photogrammetry when you have a plan or aerial photo.
Technology & Apps: Modern Alternatives
Technology has simplified many aspects of land measurement. Here are some tools and how they help.
Smartphone apps & GPS tools
- Many mobile apps allow you to tap or mark boundary points on a map and compute area and perimeter. Example: Mapulator app.
- Apps are useful for approximate measurement, quick checks or smaller properties. Important: ensure device settings, map scale and accuracy of input.
- They don’t replace professional survey for legal purposes, but are excellent for preliminary work.
Drone / aerial surveys
- Drones equipped with GPS, camera and sometimes LiDAR capture aerial footage and deliver high-resolution maps. Combined with processing software, the boundary of the land can be traced and area calculated.
- Especially useful for large tracts, uneven terrain, or when manual access is limited.
GIS (Geographic Information Systems) & remote sensing
- GIS platforms integrate mapping data, satellite imagery, survey measurements and elevation data.
- Planners, engineers and land management professionals often use GIS for land-use planning, subdivision, and detailed measurement.
Electronic Survey Equipment
- As noted above: total stations, EDMs, GNSS surveying offer sub-metre or even centimetre accuracy. For high-value land, large-scale development or legal boundary definition, these are standard.
Using technology doesn’t eliminate the need for understanding fundamentals—tools must still be used properly and boundary verification remains essential.
Understanding Legal & Survey Considerations
When measuring land you must also consider legal and “survey” aspects. Some important points:
Survey vs. measurement
- A survey is typically conducted by a licensed surveyor and produces a certified drawing (plat) with precise boundary definitions, control points, elevations and legal descriptions.
- A measurement you do yourself may serve as an estimate or preparation, but may not be legally sufficient depending on your jurisdiction.
Legal boundary descriptions
- Some parcels are described by metes & bounds: beginning at a point (stone, tree, marker), then by distances and directions to subsequent points.
- Others use rectangular survey systems (typical in some U.S. states) with townships, sections and ranges.
- Your measurement must match the legal description of the parcel; don’t alter boundary definition based solely on your measurement.
Registrations, restrictions & easements
- There may be easements (right of way), setbacks, encroachments or other restrictions that affect usable area. Just because area is “X m²” doesn’t always mean full use.
- Local authorities may require surveys or certified plans before building, subdividing or transferring land.
Documentation & filing
- If you conduct your own measurement, keep detailed records: sketch, measured lengths/angles, units, date, tools used.
- If professionally surveyed, keep the certified survey plat and accompanying documents.
- This record becomes very useful for resale, development or boundary disputes.
When disputes arise
- Boundary disputes often occur because of ambiguous markers, overlapping claims, or mismatched surveys. Having a clear survey or measurement helps.
- If you do a DIY measurement in a dispute scenario, make clear the limitations (i.e., “this is an estimate, not a certified survey”).
- Engaging a professional surveyor is strongly recommended for disputes.
Best Practices: Tips for Accurate Measurement
Here are some practical tips to ensure you measure land accurately and reliably:
- Use consistent, calibrated tools: Ensure tapes, wheels or GPS devices are functioning correctly and zeroed if needed.
- Have clearly defined corner markers: Without knowing where your boundaries begin/end, the measurement will be suspect.
- Mark each side you measure: Use flags, spray paint or stakes so you know which line you measured.
- Take multiple measurements: For critical sides, measure twice and compare; if disparate, investigate.
- Ensure right‐angles where required: For rectangular plots, verify angles (e.g., use a 3-4-5 right triangle or angle-finder).
- Account for slope: On sloped land, consider measuring slope length or using tools that correct for elevation change.
- Divide irregular shapes logically: Break complex shapes into easier components, measure each, then sum.
- Record units, conversion factors and assumptions: Don’t assume everyone knows your units.
- Use backup method: When possible, use both manual measurement and digital app/GPS to cross‐check.
- Have a sketch with dimensions: A drawn diagram with all measured distances and notes is invaluable later.
- If legal use or high value, use a licensed surveyor: The cost of getting it wrong is much greater than the cost of hiring one.
Summary & Final Thoughts
Measuring land may initially seem simple—just measure and multiply—but as this guide shows, the process has many nuances: the shape of the land, terrain, tools used, legal boundaries and units of measurement all matter. For small residential lots with clear boundaries, a well-executed DIY measurement may suffice. For larger parcels, irregular shapes or legal purposes, professional surveying is almost mandatory.
When you measure:
- Start with boundary identification and a good sketch.
- Choose your tools and unit system.
- Measure each side carefully and calculate area using the appropriate formulas.
- Double-check and document thoroughly.
- Understand when slope or irregularity demand more advanced tools or professional expertise.
- Keep your records—one day they may protect you, add value or smooth a transaction.
By following best practices and understanding the methods, you’ll be in a strong position to know exactly what land you own or are considering—and make better decisions from that knowledge.
Image Credit: Shutter Stock