Step-by-Step Method to Measure Your Land in Acres Like a Pro
1. Why Measuring in Acres Matters
- Legal and boundary clarity: When your land is described in acres, that number is often used for title records, deeds, tax assessments and zoning. A mistake in acreage could lead to legal or financial problems.
- Valuation and investment: Land priced by the acre means the exact acreage matters directly—when you know how many acres you have, you better understand what you own.
- Development and planning: If you plan structures, subdivision, farming or landscaping, the acreage determines what you can do—what setbacks apply, how much usable land exists, how many units you might fit.
- Accuracy and records: Even if you already have a figure, measuring yourself (or verifying a professional survey) adds confidence and documentation. By following good practice, you protect your interests.
In short: knowing how many acres you have is foundational. But “how to measure acres of land” is not simply a matter of walking tape—it involves units, conversions, shape considerations, tools and sometimes professional assistance.
2. Understanding the Unit: What Is an Acre?
Before measurement, let’s get our units straight.
Definition & key conversions
- One acre is defined as 43,560 square feet.
- In metric, one acre equals approximately 4,046.86 square metres.
- A square mile equals 640 acres (in the U.S. survey system).
- Older land-units: one acre = 160 square rods (or 10 square chains) in older surveying units.
Historical and practical insights
The term “acre” originates from medieval England and referred to the amount of land that could be ploughed by oxen in one day. Today the practical meaning is simply a unit of area—but awareness of its roots helps you interpret older titles or surveys which may refer to rods, chains or other legacy units.
Why conversions matter
Since many measurement tools or deeds may use feet, metres, rods, chains or hectares, you’ll need to convert. For example:
- If you measure in square feet, divide by 43,560 to get acres.
- If you measure in square metres, multiply by 0.0002471 (since 1 m² ≈ 0.0002471 acres).
Understanding the unit ensures you translate your measurement into acres correctly.
3. Planning the Measurement: Preliminary Steps
Before grabbing a tape or walking a boundary, do some prep:
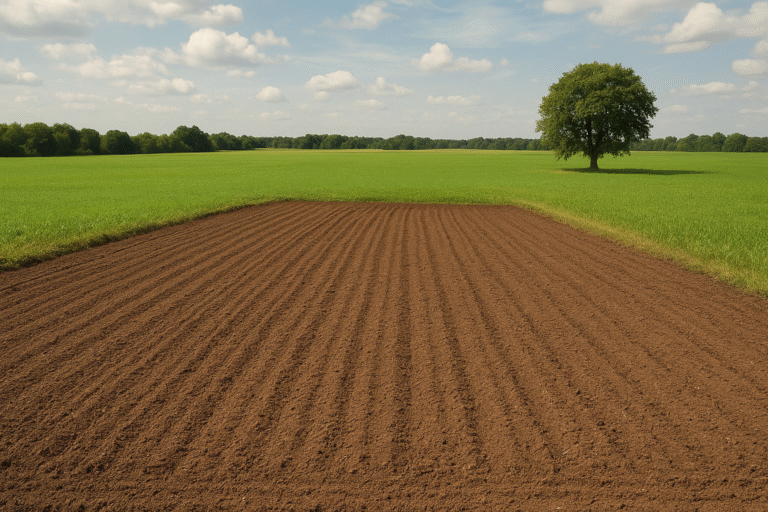
Identify boundary markers and shape
- Locate existing survey markers, boundary stakes, fences, title corner posts or other fixed references.
- Review any deed description or plat map. The parcel may have irregular sides, not simply a rectangle.
- Sketch a rough outline of the property showing corners and boundaries—this helps you plan your measurements.
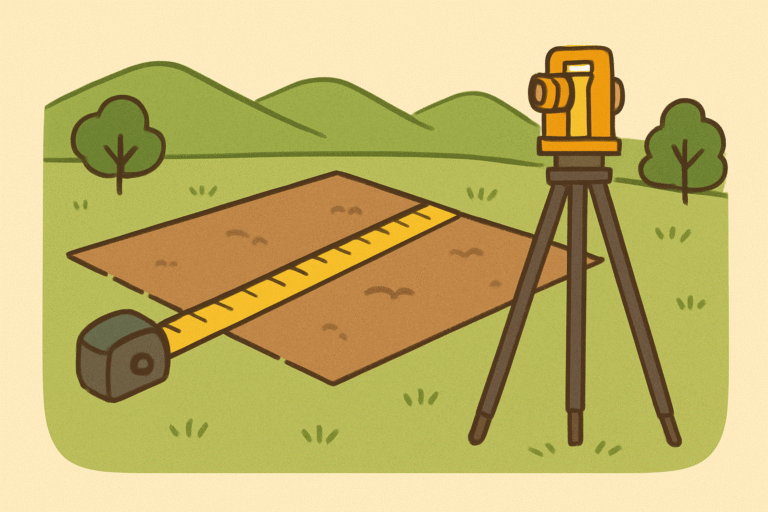
Choose units and tools
- Decide: will you measure in feet, metres, or rods? For ease, feet/metres are common.
- Gather tools: measuring tape (long enough for one side), measuring wheel, GPS device or smartphone app, laser rangefinder if available.
- For irregular shapes or larger properties, consider digital tools or professional surveying equipment.
Decide method based on size and complexity
- Small/regular shape: If your land is roughly rectangular or easily accessed, a simple measurement may suffice.
- Large/irregular shape: Multiple sides, slopes, difficult terrain — more advanced methods or surveyors may be needed.
- Legal or high-value land: If you’re preparing for sale, subdivision, development or dispute, professional measurement is strongly recommended.
Document everything
From the start, keep notes: date, tool used, method, measurement units, any obstacles encountered. Good documentation enhances credibility and trustworthiness of your result.
4. How to Measure Acres in Practice: Step-by-Step
Here is a detailed methodology you can follow. All steps apply whether you’re measuring a small lot of, say, 1 acre, or multiple acres.
Step 1: Measure boundaries (linear distances)
- Walk around the boundary of the plot, measuring each side. Use tape, wheel or laser distance tool.
- Record each side length, noting units (feet/metres). For four-sided parcels: measure each side. For more sided/irregular parcels, measure each boundary segment.
- For approximation: if your shape is roughly rectangular (two lengths + two widths), you can proceed to step 2.
- If your parcel has many sides, slopes, curves or is irregular, take note of each segment and plan to subdivide shape in step 3.
Step 2: Calculate area for regular shapes
If your land is roughly a rectangle:
- Area in square feet = Length (ft) × Width (ft).
- Then convert to acres: divide square feet by 43,560.
For example: Length = 500 ft, Width = 650 ft → Area = 500 × 650 = 325,000 ft² → Divide by 43,560 => ≈ 7.47 acres.
Step 3: Handle irregular shapes
For an irregular parcel:
- Break the parcel into simpler shapes: rectangles, triangles, trapezoids.
- Measure the sides needed for each sub-shape.
For example: one portion might be a rectangle, another a triangle. - Use appropriate formulas:
- Rectangle → length × width
- Triangle → (base × height) ÷ 2
- Trapezoid → (sum of parallel sides) ÷ 2 × height
- Sum the areas of all sub-shapes to get total area in square feet or metres.
- Convert to acres: if you used square feet, divide by 43,560. If square metres, multiply by 0.0002471.
This approach is consistent with guidance on how to calculate acreage for more complex shapes.
Step 4: Adjust for terrain and slope (if required)
If your land is sloped or uneven:
- Measure the “true” distance along the surface rather than just the horizontal projection (if possible).
- If measuring manually, you might approximate by breaking the land into small horizontal parts and summing. But this is error-prone.
- For high accuracy, use survey equipment (total station, GPS topographic survey) to account for elevation changes.
Failing to account for slope may under-state the true usable area.
Step 5: Use digital tools or maps for verification
You can expedite or verify your manual measurement via digital tools:
- Use online area calculators (e.g., draw boundary on map) then convert to acres.
- Use Google Earth Pro or similar to trace the boundary and compute area.
- For accuracy: obtain coordinate points for boundary corners then compute using GIS or mapping tool.
Digital methods help cross-check manual measurements, especially for large or irregular parcels.
Step 6: Convert and summarise your result in acres
- Once you have the total area (in square feet or square metres) convert to acres:
- If in square feet: divide by 43,560.
- If in square metres: multiply by ~0.0002471.
- Clearly document: “Total area = X acres (≈ Y square feet / Y square metres)”.
- If your result differs from recorded deed acreage, note the difference and consider professional review.
Step 7: Document and preserve the measurement
- Sketch the outline with boundary lengths, units, and sub-divisions (if irregular).
- Include measurement method, date, tool used, any assumptions or obstacles (vegetation, slope, inaccessible boundary).
- Attach digital map screenshot or annotated photo if used.
- File with property documents for future reference (taxes, sale, dispute resolution).
5. Example: Measuring an Irregular 3-Acre Parcel
Let’s walk through a detailed scenario so you can visualise how the steps apply.
Scenario: You own a parcel of land that appears roughly triangular at one end, then widening into a rectangular section. The deed lists “± 3 acres.” You want to measure and verify.
- Sketch & identify boundaries:
- Corner A: marker post on west boundary. From A eastwards along fence = 250 ft.
- Then turns northeast along another fence = 300 ft.
- Then southwards along a hedgerow back to Starting line approx = 330 ft.
- Break into simpler shapes:
- Recognise rectangle section: 250 ft × 120 ft.
- Triangle section: base = 300 ft, height (approx) = 120 ft.
- Measure lengths:
- Rectangle: 250 ft length (west-east) and 120 ft width (north-south).
- Triangle: base measured as 300 ft, height measured (via tape perpendicular) = 120 ft.
- Calculate area:
- Rectangle area = 250 × 120 = 30,000 ft².
- Triangle area = (300 × 120) ÷ 2 = 18,000 ft².
- Total area = 30,000 + 18,000 = 48,000 ft².
- Convert to acres:
- 48,000 ft² ÷ 43,560 = approx 1.10 acres.
- This result indicates the parcel is far less than the deed’s “± 3 acres”—so either you missed measurement segments, the deed figure is out-of-date, or your boundary interpretation is incomplete.
- Review & investigate:
- Re-walk boundary to check if you missed additional sides.
- Check for erroneous assumption (e.g., hedgerow may not be boundary).
- If you’re still confident, contact a licensed surveyor because the discrepancy is large.
- Document:
- Sketch: rectangle + triangle, each with measurements.
- Dates, tool used, weather/vegetation notes.
- Save screenshot of Google map boundary draft.
- Note: “Measured by owner; not a certified survey.”
Through this example you can see that measurement is straightforward in concept—but accuracy depends on completeness of boundary definition and shape recognition.
6. Common Mistakes & How to Avoid Them
Even when following steps, people still make avoidable errors when measuring acres of land. Here are common pitfalls and how to avoid them:
Mistake 1: Ignoring irregular boundaries
- Problem: Assumes a perfect rectangle when actual shape is L-shaped, triangular or multi-sided.
- Fix: Sketch the actual shape, break it into simpler components, measure all segments.
Mistake 2: Mixing up units without converting
- Problem: Measuring in square metres or feet but converting incorrectly to acres.
- Fix: Always note units, then apply correct conversion factor (ft² ÷ 43,560 or m² × 0.0002471) and label final result.
Mistake 3: Failing to verify boundary markers
- Problem: Measuring inside fence line or from wrong marker gives incorrect area relative to legal boundary.
- Fix: Use official boundary markers if present; compare with deed description or plat map.
Mistake 4: Neglecting slope or uneven terrain
- Problem: Flat projection measurement understates actual surface area on sloped land.
- Fix: If slope is significant, either use professional equipment or approximate by dividing into small horizontal bands.
Mistake 5: Relying solely on digital tools without ground verification
- Problem: Mapping tool may misinterpret boundary or scale; vegetation/obstructions may mislead.
- Fix: Use digital tools as cross-check – still measure physically when possible.
Mistake 6: Poor documentation
- Problem: Later, when selling or resolving dispute, the measurement lacks credibility because no records.
- Fix: Keep a clearly annotated sketch, measurement data, date, units and conversion.
By being aware of these and proactively avoiding them, you enhance the reliability and trustworthiness of your measurement.
7. When to Hire a Professional Surveyor
There are times when DIY measurement is not enough, and you should engage a licensed surveyor.
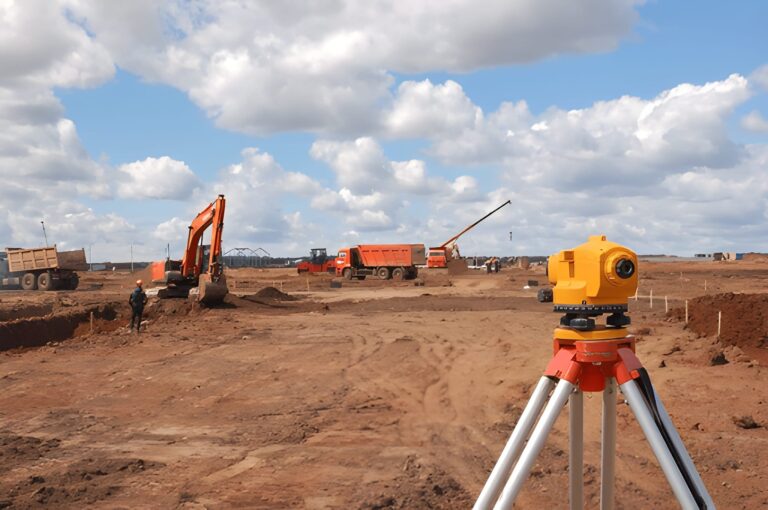
Situations when professional survey is wise
- The parcel is large (many acres), remote, sloped, irregular or contains streams/rights of way.
- You’re subdividing land, selling it, using it for commercial development, or need a certified survey for legal use.
- You suspect the recorded boundaries are inaccurate, or there’s a boundary dispute with a neighbour.
- Zoning or regulatory authorities require an official survey for building permits, subdivision approval or registration.
What a surveyor provides
- Certified boundary map (plat) with precise coordinates, measured angles, distances and elevations.
- Professional liability: their work carries legal weight.
- Identification of easements, encroachments, rights of way, and correct boundary definitions.
- Geodetic or GPS‐based measurement that may be far more accurate than manual methods.
How to choose a surveyor
- Ensure they are licensed in your jurisdiction.
- Ask for examples of past work (especially in your region/terrain).
- Request a clear scope: what corners will be set, what documentation delivered, timing and cost.
- Clarify how they handle obstacles (trees, buildings, water).
- Obtain written report with drawings, measurements, units, datum used and certification.
In essence: if the stakes are significant, the boundary unclear or the shape complex—hire a professional. The cost is an investment in accuracy and protection.
8. Technology Tools & Tips for Measuring Acres
Modern technology has greatly improved land measurement. Even if you prefer manual methods, you can leverage tools to improve speed and accuracy.
Online and mapping tools
- Use software/web tools where you draw or click boundary points on a map and the tool calculates area.
- These are especially helpful for large parcels, remote areas, or preliminary estimates.
- Key tip: verify scale, calibration and accuracy (satellite imagery may be dated or obscured).
GPS / smartphone apps
- Many smartphone apps let you mark boundary points and compute area.
- These are good for rough measurement, but results depend on GPS accuracy, satellite signal and device quality.
- For best results: walk the exact boundary, hold the phone steady at each corner. Use app data only as a cross‐check.
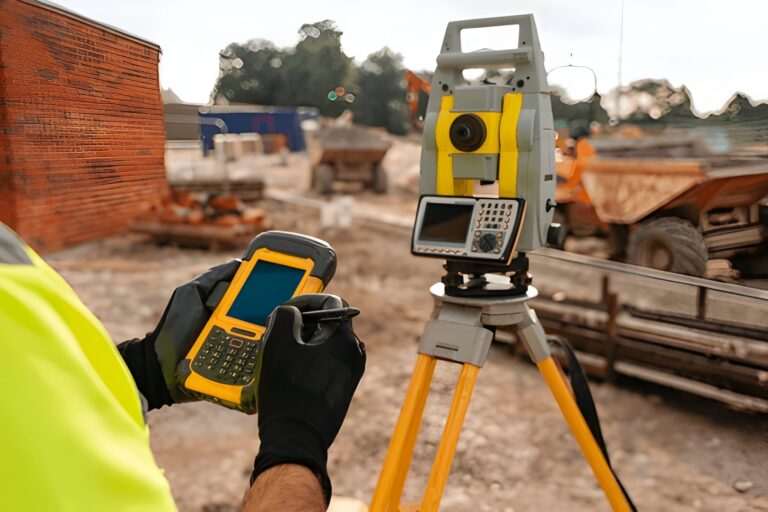
Laser rangefinders, total stations & UAVs
- For professional or high‐accuracy needs: laser rangefinders measure distances, total stations measure angles & distances, drones/UAVs capture aerial data and LiDAR.
- These are usually beyond DIY cost, but their availability means surveyors can achieve high precision.
Suggested tool workflow
- Use map tool to trace approximate boundary and estimate acreage.
- Walk boundaries with tape/wheel or GPS app and record linear measurements.
- Compare map estimate vs ground measurement.
- If large discrepancy or complexity arises, switch to professional survey.
By integrating technology with traditional measurement, you improve speed, confidence and accuracy.
9. Frequently Asked Questions (FAQs)
Q: “My deed says 5 acres but my measurement comes out as 4.6 acres—what gives?”
A: There are several possible reasons: the deed acreage may be from an old survey with different measurement units, boundary markers may have shifted, your measurement may have missed a segment or assumed a simplified shape, or terrain/elimination of features (e.g., removed easement) may affect the actual usable area. If the difference is large you should consider a professional survey.
Q: “Do I always need to measure every boundary myself?”
A: If you have a recent survey plat, reliable boundary markers and the deed is clear, you might be confident without measuring. But for accuracy—especially if you intend construction, sale or refinancing—measuring and documenting your own confirmation is wise.
Q: “Can I use smartphone apps alone?”
A: Yes, for rough estimates they are fine. But smartphone GPS accuracy is often ± several metres or more depending on signal, and mapping imagery may be outdated. For legal, commercial or high-value work, they should supplement—not replace—good measurement or a surveyor.
Q: “What if my land is sloped or uneven?”
A: Sloped land means the surface area is greater than the horizontal projection. In many cases the horizontal measurement is acceptable, but for precision you should measure along slope or use surveying equipment that accounts for elevation changes.
Q: “Can I sell land based on my own measurement?”
A: You can, but it may carry risk. Buyers, title companies, lenders often expect a certified survey or recognized measurement. Your documentation should be clear that it is owner-measured, not a certified survey. If the acreage is disputed later you may be exposed.
10. Final Thoughts & Best Practices
Measuring acres of land may at first appear simple—just find out how many acres you own and you’re done—but as we’ve seen, accuracy depends on shape, units, terrain, boundary clarity and method. To summarise best practices:
- Know your units: 1 acre = 43,560 ft² or ~4,046.86 m².
- Sketch your parcel and identify boundary markers.
- Measure all linear distances and break irregular shapes into simpler components.
- Use correct formulas for rectangles, triangles, trapezoids.
- Convert your area to acres properly.
- Use digital tools to cross-check, but don’t rely solely on them for legal purposes.
- Document everything: sketch, measurements, units, date, tool used, assumptions.
- If there’s any doubt—large acreage, irregular shape, slope, legal use—hire a licensed surveyor.
- Treat measurement as one part of your property-management toolkit: it protects value, supports decisions and helps avoid disputes.
With this approach you’ll be well equipped to measure your land in acres with confidence—whether you’re verifying your own ownership, planning development, or simply gaining clarity about your property.
Image Credit: Shutter Stocks